Sunday, September 30, 2012

Fall Gardens

Yesterday was the first day in a long time I've had enough time and it was cool enough for me to venture outside and work in the garden.  It is officially fall and the days have cooled to the point where temperatures are no longer in the triple digits.  Hot weather is really hard on me and I have a difficult time staying outside for very long in really hot weather like we have had the last couple of summers.  Sorry I keep complaining about that, but it is true.  

Now that it is cooler, I feel like I have a new lease on life and I started the day out yesterday by taking a stroll out to the field to see what Tom had been up to.  I found that he has been a real "busy beaver"!  First off, he has worked up the ground where he is going to plant garlic.  He will be planting it anytime.  I will write a blog entry on that and give some more detail of why it is always planted in the fall at a later date.


Next, I saw that he has planted turnips, radishes, lettuce and several other fall crops.  The black hose-like things are "drip" tape.  That is the best way to irrigate.  It conserves water by only  delivering it to where it is needed, the roots of the plants.


Heading back up to the raised beds, I passed the chicken pen.  They all ran over to see if I had any goodies for them.


Sorry, chickens, maybe next time.

Upon reaching the raised beds, I found that Tom had a nice stand of lettuce in one of them.  He had planted it a couple of weeks ago.  At that time we were still having temperatures in the 90s so he put the shade cloth up to help protect it from the sun.  Since then, he has pulled back the shade cloth and we can most likely go ahead and remove it at this point.  After all, tomorrow is October 1!


Seeing how busy he has been inspired me to get my act together and do some gardening myself.  There was an empty raised bed where tomatoes had been during the summer.  Tom had cleared it out several weeks ago.  So, I commandeered it and planted some arugula, bok choi and Chinese cabbage.  


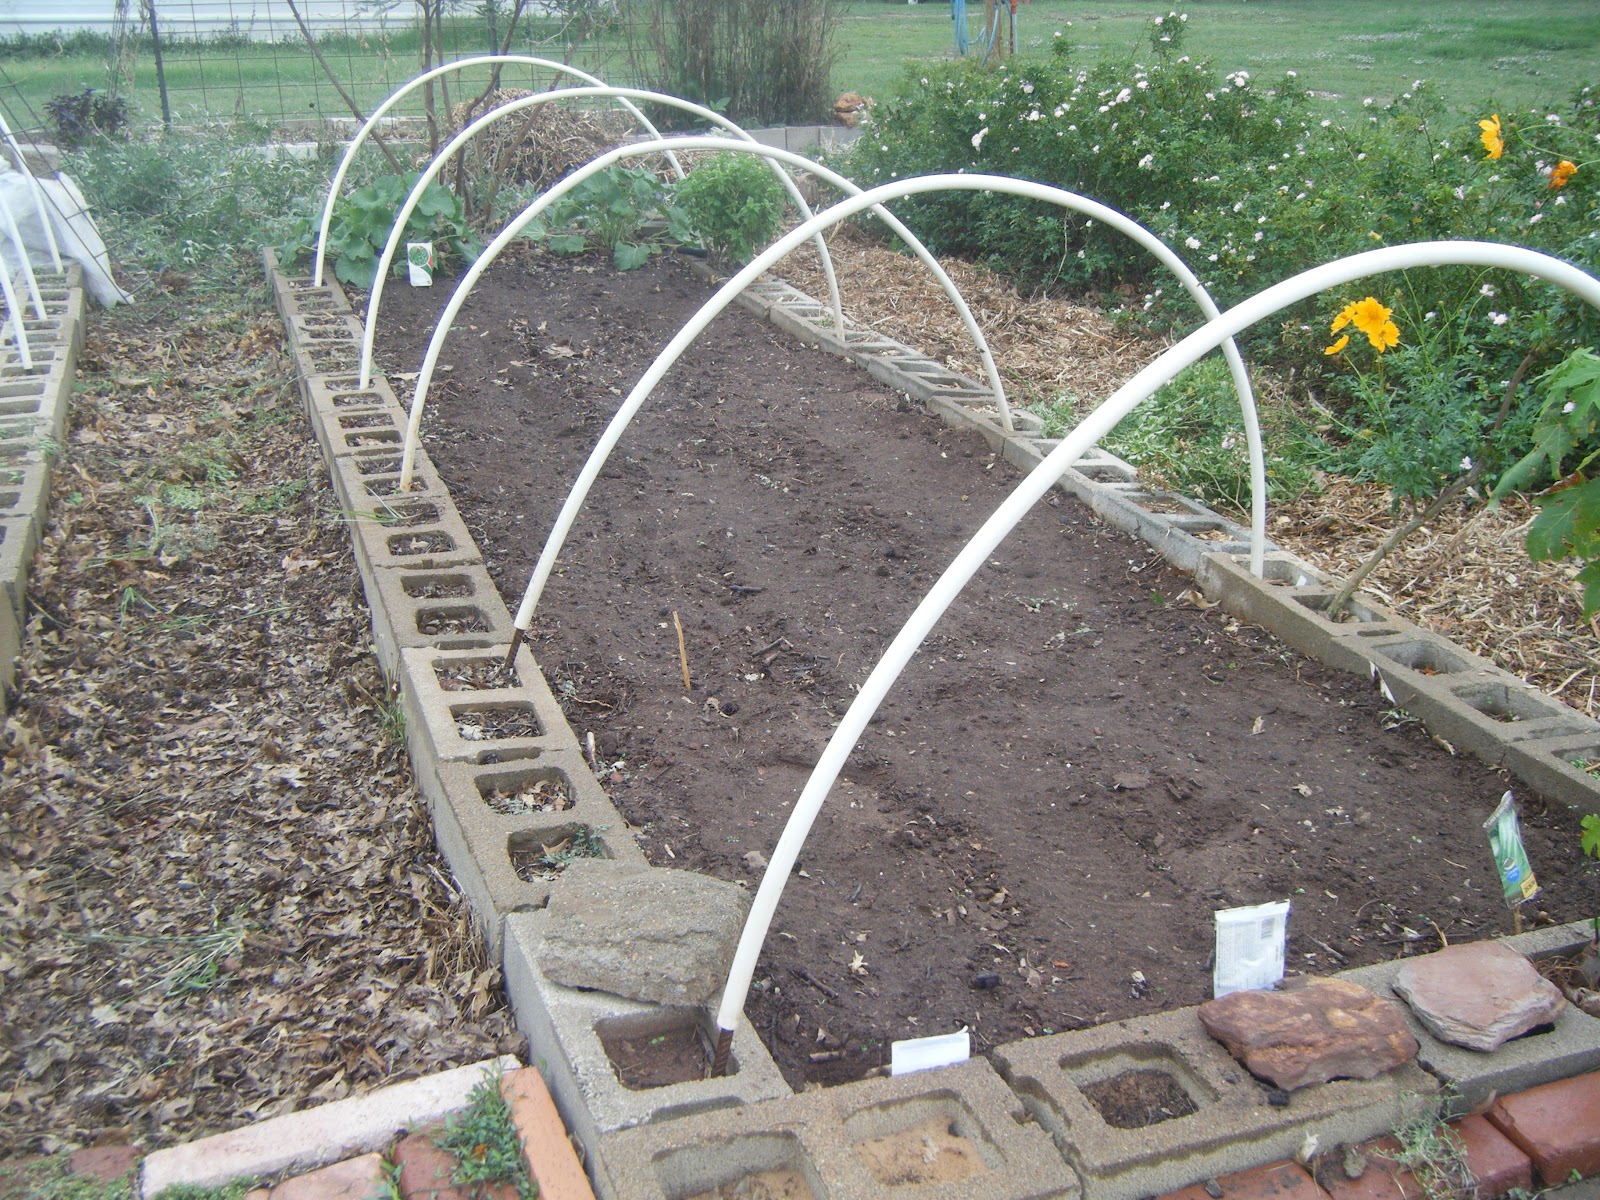
These should have been planted several weeks ago, but my motto is "better late than never".  We'll just have to wait and see what happens.  If it stays relatively warm this fall and we don't have a frost until mid-November, then I may be able to sample the fruits of my labor. 

At any rate, the chickens were able to sample some of the "fruits of my labor".  While digging around in the dirt, I found some grub worms for them.


Sorry to gross you out.  I hate these little buggers, but the chickens thought they were wonderful.

Sunday, September 23, 2012

Saving Tomato Seeds

During tomato season this past summer (notice I say "past" summer since we are officially into fall now), I noticed one particular tomato plant that was producing stripped tomatoes.  I don't know if this is some sort of genetic mutation or just an odd seed of a different variety that got mixed in with the variety we bought. 


They look somewhat spotted here, but the spots are arranged in definite stripes.  The tomatoes were not that big, maybe the size of a large plum or a little larger.  But, they were tasty and just sort of neat.  So, I decided to save the seeds from one and plant them next year to see what I get.

The first step was to quarter the tomato and remove the seeds.


The seeds are encased in a jelly-like goo that is very difficult to remove.  So, the solution is to put the seeds along with the goo into a small bowl, add a small amount of water and let it set for several days.


During this time, this material will ferment and decompose and you will be able to remove the seeds easily.  Be sure to add a little more water if needed to keep it moist.  After 4-5 days, pour the material into a strainer and run water over through it.  Everything should rinse away except the seeds.

Put the seeds on a piece of newspaper to dry.  Spread them out as best you can.  The seeds will stick to the paper, but after a day or so, you should be able to scrape the seeds off.  Make sure they are completely dry.  


Once they are dry, then you can put them in an envelope for storage.  Be sure to write on the envelop what they are!  I store my seeds from year to year in the vegetable compartment of my refrigerator.


Wednesday, September 19, 2012

Hoophouse Chickens

Last week I wrote about the new pen Tom was making for the chickens.  It was going to connect their main pen with the hoophouse.  Then, he was going to open the hoophouse up to where they could get in there and help him clear out the weeds.

Here is a picture of what it looked like from the west side while he was building it.


You can see one corner of the hoophouse in this picture.  Notice how we roll the sides of it up during hot weather.  Notice, as well, all the weeds growing inside it!  

Tom got the pen part finished.  Then, he put chicken wire along the sides of the hoophouse to keep the chickens inside.  Finally, it was all finished and he was ready to turn the chickens loose in it.

They have been very curious about what he was doing out there and they were eager to follow him inside once he opened the door to the hoophouse.  Here are some pictures of them once inside.


Tom has been digging out a lot of the grass himself.  He is also removing some cement blocks that he used last year to create a raised bed in which he grew sweet potatoes.  Once the blocks are removed, then he'll be able to get the rototiller in there and till the ground


One of the chickens appears to be the "alpha" chicken, the "leader of the pack" (or in this case flock) so to speak.  She is the one in the above picture.   She is a big red chicken called a New Hampshire Red.  Tom has named her Abigail.


I wouldn't say that she likes to be petted, but she tolerates it.

Wednesday, September 12, 2012

Chicken Helpers

About a month ago I wrote about the expansion of our chicken pen.  When we moved the chickens from their little brooder pen to their coop, we just used the brooder pen as a temporary outdoor pen for them until we could get something better built.

http://windyacresnaturalfarm.blogspot.com/2012/08/chicken-pen-extended.html

Shortly after that, someone gave us a couple of old dog pens they no longer wanted.  Tom decided these should be used to expand the chicken pen yet again.  He decided that he could set them up in such a way that it would create a pen connecting the current chicken pen to our hoophouse.  


At first glance you might think this is a "greenhouse", but it is not heated or cooled.  We use it mainly in fall and winter for cool season greens.  Last winter, we grew lettuce in it all winter long.  We also use it in spring to protect tender plants from spring frosts.  

During the summer, it is much too hot to grow anything in it, except weeds, and the weeds certainly did well this summer and got the upper hand.  So, now Tom is hoping the chickens can help clear out the weeds.  It is amazing how much of the grass they eat.  There are patches of bare dirt in their current pen where they have eaten all the grass and scratched up the roots.

But, the problem became how to get them from their current pen over to the hoophouse, other than catching them and carrying them over there everyday!  As it turned out the dog pen panels were just the right length to span that distance.  You can see Tom over there working on a gate between the 2 pens.


There were times when he had a lot of helpers.  Chickens are incredibly curious.   


It did not take long for them to start exploring their new habitat.  They inspected every blade of grass.

Next step is to put chicken wire along the sides of the hoophouse so that, once we let them in it, they will not be able to get out.

Friday, September 7, 2012

Hummingbird Feeder Repair

I am fascinated with hummingbirds.  I love their beautiful colors and can spend hours watching their acrobatics.   Not long after I started this blog, I wrote an entry about the pineapple sage I purchased that I hoped would entice the little jewels to our yard.


At that time I had a small feeder and, between it and the pineapple sage, I found myself having to fill the feeder every other day.  So, I quickly bought another, larger, feeder.  These have served me well for the past 2 summers. But, the summer sun in Oklahoma is unforgiving and the bright red and yellow plastic "flowers" on the bases of the feeders broke into pieces after a few weeks of use this year.

I never really liked those stupid flowers anyway.  They were hard to clean and harbored black mold that I worried would be bad for the hummingbirds.  So, after much thought I simply removed them from the larger feeder.  This left gaping holes where they were.  I tried using it like this.  The hummingbirds didn't mind at all, but the water evaporated quickly and left a sticky goo in the bottom and all manner of insects crawled into the holes and got mired in it.  It was a mess to clean up.

Then, I had the bright idea of filling the holes with hot glue and drilling smaller holes that were big enough for the birds to drink through, but too small for most insects.  This worked great!  I even painted yellow "circles" around the holes to attract the hummingbirds to the feeder.  The circles were supposed to be "flowers", but I'm not very good at art and they ended up being circles instead.   I doubt this was really necessary, anyway.  I suspect the hummingbirds would have figured out where they were supposed to drink without them.

Here's a picture of my handiwork.


And here the feeder is ready to hang back up.  Notice that the top has a "lip" on it.  You are supposed to fill this with water and it will keep the ants from crawling down the hanger and getting into the feeder.


It didn't take long for the hummingbirds to find it after I filled it and hung it back up!