Saturday, September 28, 2013

New Use for Coffee Grinder

Over the years, I've written several blog entries about basil.  Here is one on the best way to keep it fresh before you use it:

http://windyacresnaturalfarm.blogspot.com/2013/07/best-way-to-keep-basil-fresh.html

And, here is one I wrote on how I prune it to keep it growing and producing leaves:

http://windyacresnaturalfarm.blogspot.com/2012/07/overgrown-basil.html

Making pesto is a must if you grow a lot of basil.  I shared my recipe and method in this entry:

http://windyacresnaturalfarm.blogspot.com/2011/08/basil-pesto.html

Here is one on saving basil seed.

http://windyacresnaturalfarm.blogspot.com/2012/11/saving-basil-seed.html

And, finally, one on the best way I have found to dry basil.

http://windyacresnaturalfarm.blogspot.com/2011/10/dried-basil.html

I was quite amazed when I searched my blog for "basil" and found that I had written so many entries concerning that topic!  Well, here is ONE MORE!   But, you can consider it an extension of the one on drying basil above.

This year, I've had an over-abundance of basil.  We are no longer in a drought where we live here in Oklahoma.  The early part of the summer brought us a lot of rain and we've had very few days of 100+ temperatures.  Most of the summer has seen temperatures in the upper 80s and 90s.  So, it has been great growing conditions for this particular herb.  I've had so much of it, in fact, that much of the time, I've had to compost most of what I had leftover from the farmers' market.

However, I have dried quite a bit of it.  Once it is dried, you can simply put it in zip-lock bags and store it in your cupboard.  But, since most recipes call for dried herbs by the teaspoon, tablespoon, etc., then you need to crush the leaves into small pieces so they can be measured.

Here's the solution I have come up with for this task.....a coffee grinder.  I use this grinder solely for herbs; mainly basil, mint and lemon verbena.


You have to be careful and not get carried away.  Otherwise, you end up with basil "powder".  However, if you just pulse the basil leaves a few pulses at a time, then it works pretty well.  

Here's what to do.  Take a few dried leaves, like this.


Put them in the grinder and pulse a few times.  The ones below probably need another pulse or two.


Then put them in a spice jar.  I usually save empty spice jars just for this purpose.


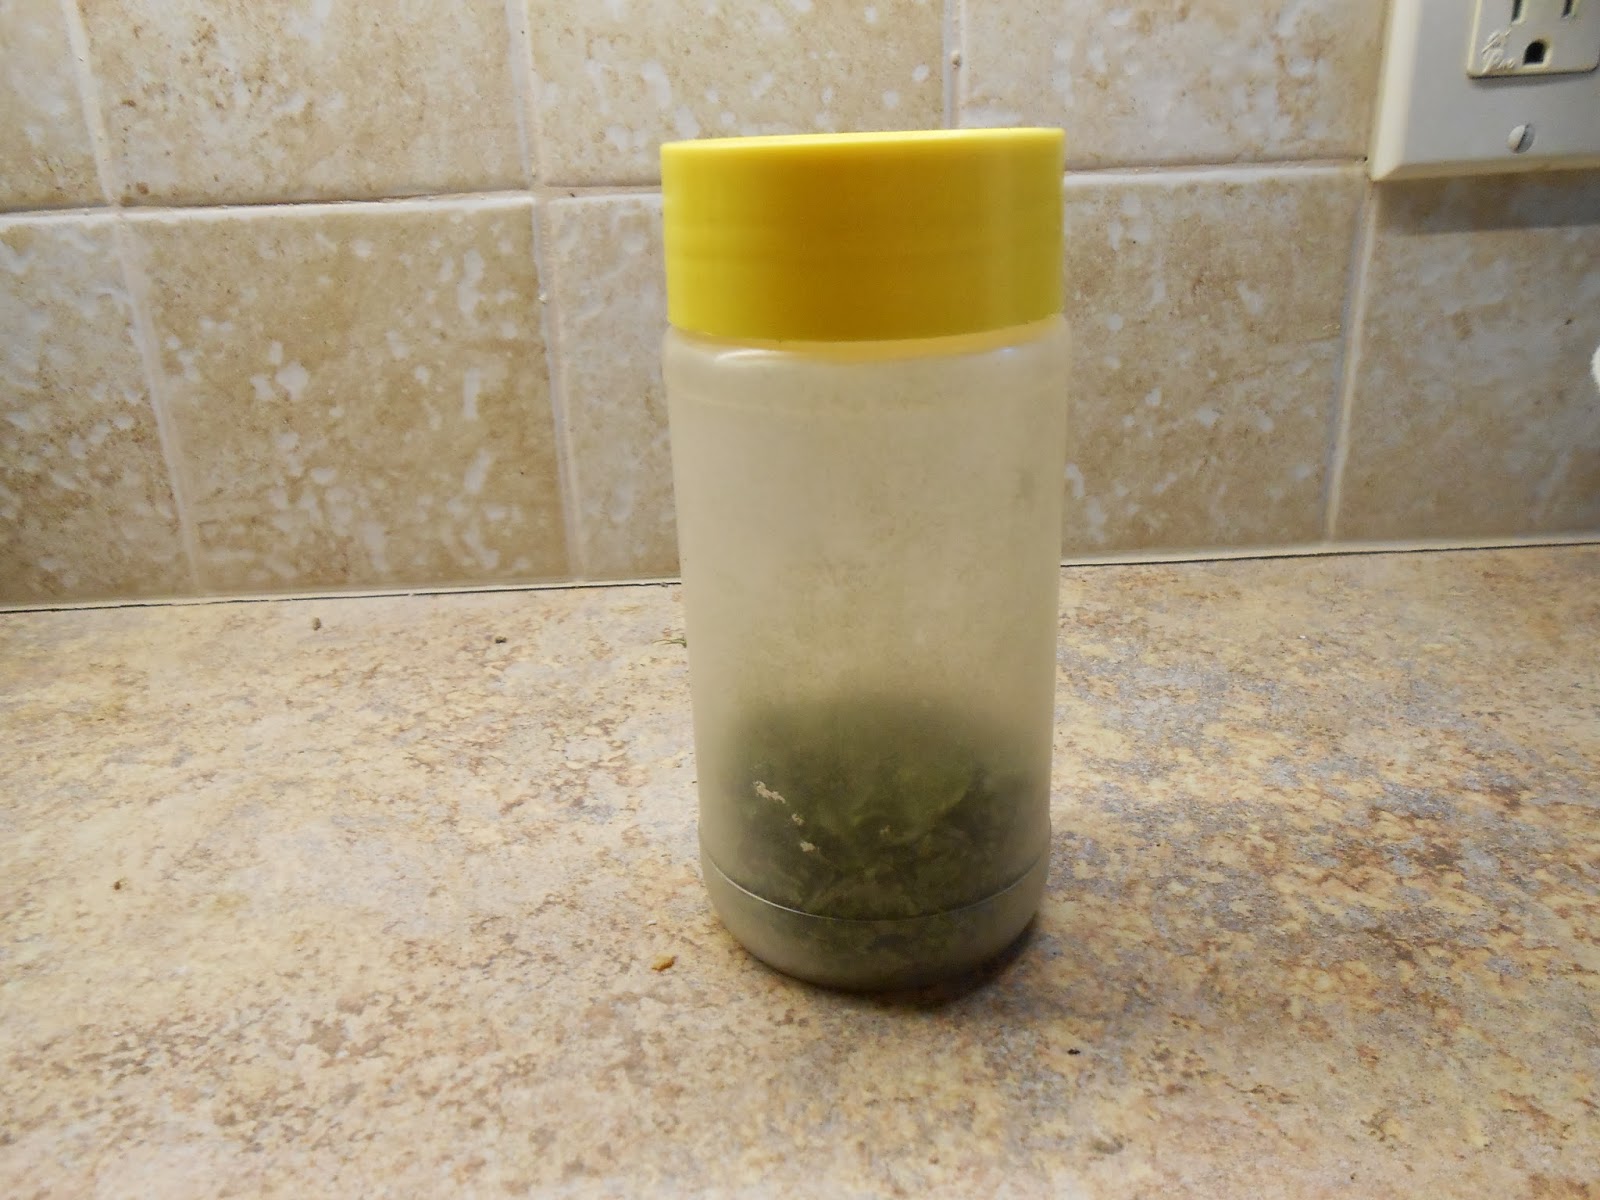
Finally, be sure to label the jar with what is inside.  I can't tell you how many times, I have neglected to do this thinking that I would surely remember what it was.  Then, six months down the road, I couldn't remember and had to taste the contents to see what it was.

Sunday, September 22, 2013

Make-Do Clothes Drying

A couple of years ago I wrote about my "solar" clothes dryer.

http://windyacresnaturalfarm.blogspot.com/2011/10/solar-clothes-dryer.html

Of course, this was simply made by stringing cotton cord between the posts of our carport and letting the sun do the rest.  Nothing fancy, but it dried a ton of clothes during its lifetime.  I hardly ever used my electric clothes dryer during the summer unless it was raining.

However, we had the old carport replaced this summer.  You can kind of see in the picture displayed in the above link that it was a homemade affair that some previous owner had welded together.  It leaked and wasn't very sturdy, so we decided to have it replaced.  Now, the posts are wooden 6X6 posts and I've not figured out a good way to restring my clothesline between them.  I don't really want screw anything into them.

While I am puzzling over this problem, I've come up with a stop-gap measure that works fairly well.  Here it is.


I can't dry sheets and large items like that on it.  But, I have come up with a way to dry Tom's jeans.  


They dry nicely draped over the patio chairs.  And, his long-sleeved work shirts can be dried on the rack by draping them over 2 of the bars and letting the sleeves hang down the side.

I really need to see about getting a proper clothesline installed, but, for now, I'm perfectly happy with this.  And, since it is almost October, cooler weather will probably soon drive my clothes drying back indoors.  Maybe by next spring, I'll have something better figured out.

Tuesday, September 17, 2013

Remember the Stripped Tomatoes?

Almost exactly a year ago I wrote a blog entry about the stripped tomatoes that I was going to save seed from and grow again this year.


In that entry, I described how one goes about saving tomato seed.  You first have to mix them with a little water and let them ferment for a few days so the slimy gelatinous material around the seeds will dissipate.

So, this spring I was excited to plant the seeds I had saved and was amazed to find that almost all of them lived.  I had tons of plants that produced beautiful vines.  Here is a picture of the tomato plants planted behind a row of basil.  The tomatoes were just beginning to bloom when this picture was taken earlier this summer.


The vines have produced very well and I've harvested a lot of fruit from them.  Here is a small sample.


Now, if you look closely, you'll notice that some of them have spots on them.  These are scaly places on the skins, primarily on the lighter areas that form the strips.  There are varying degrees of this as you can see below.


The 2 tomatoes in the lower left are hardly affected by this condition while the one in the middle on the top has a lot of the scales.  Here's a closer look.


I asked one of the men at the farmers' market who is a retired agronomy professor about this.  He seemed to think it was caused by an "environmental" condition and that it was not a disease of any sort.  Oddly enough, the tomatoes taste fine and the skins are not tough.  

However, this year I plan to save seed from one of the tomatoes that has not been affected.  And, hopefully, next year the plants will have some resistance to whatever caused this.  

Saturday, September 14, 2013

Some Ideas Just Don't Work

Maybe I'm going overboard writing about okra this year.  Maybe it is because the last two years our okra crop has been a failure because of the drought and I didn't have any to write about.  At any rate, this is my third posting about okra this summer.  

Okra is best eaten when the pods are small and tender.  However, they grow very fast and sometimes hide from you.  So, in every harvest, you'll usually have several pods that are too big and tough to use.  

This week, I decided to take several of these big, tough okra pods and see if I could get the chickens interested in eating them.  I thought if I cut them open so they could see the seeds, then they might use their beaks to tear into the other pods and dig the seeds out themselves.  Here's what I mean.


Then it occurred to me that the seeds might be good stir-fried!  Has anyone ever tried this before?  Was I, perhaps, the first person to think of it?  I felt I was on the verge of a new discovery!

 I slit several pods open and carefully extracted enough seeds to make a serving.


Next, I heated some olive oil in my wok and threw the seeds in the hot oil.


After a couple of minutes they began to jump out of the pan!  I turned the fire down and cooked a while longer until I thought they were ready.   I added some salt and pepper and scooped them out onto a plate.


I have to admit that these were really BAD.  While they didn't taste too terribly bad, the skins that covered the seeds were really tough.  You couldn't chew them and they were hard to swallow.  I ended up throwing the results of my new recipe in the compost.

However, as the old saying goes "Nothing ventured, nothing gained" and all I lost was a few minutes of time and a little bit of olive oil. 


Monday, September 9, 2013

Okra flowers

Several weeks ago I wrote a blog about a favorite recipe of mine called "okra scramble".

http://windyacresnaturalfarm.blogspot.com/2013/07/okra-scramble.html

Now, I want to share with you some pictures of okra and how it grows.  Many of you probably already know this, but I'm sure there are others who don't.

Okra grows on plants that can grow to over 6 feet tall.  Here is a picture of a row that Tom has planted in the field.


I'm told that okra looks somewhat like marijuana, but I can assure you that THIS is okra!  Okra flowers are lovely.  The flowers are only open for one day.  They start out in the morning closed like this.


As the morning progresses, they begin to open.


By noon, they are fully open.


They have 5 delicate petals that are a beautiful shade of yellow.  And, the inside, as you can see is a deep burgundy.  They are really a very pretty flower.

By mid-afternoon the flowers fold back up and, if they have been fertilized, then they form okra pods like these.  Notice the spent flower on the left that is in the process of forming a pod.  


Tuesday, September 3, 2013

Potato Cake Recipe

One of the things I grew eating was something my mother called "Potato Cakes".  This was a recipe that she made using left-over mashed potatoes.  I don't have the original recipe.  I'm not sure she had one.  She just made them from memory and I ate them.  I didn't cook much growing up and had to sort of learn "by the seat of my pants" after I left home.   I relied heavily on recipes for most things, but there wasn't a written recipe for my mother's potato cakes.  I may have called her and asked how to make them the first time I had left-over mashed potatoes.  I don't remember.  But what I can tell you is this is a great way to use left-overs.

First, beat an egg in a medium size bowl.


Then add mashed potatoes.


Add some seasonings.  Be creative.  If the mashed potatoes had salt in them, then you may not have to add much salt.   I usually add some pepper and hot sauce.  


Mix well and add some flour.  I always add some milk. too.  Otherwise, the batter may be too dry.


For a main dish, add some chopped cooked bacon or ham. 


Next, heat a griddle over medium heat and coat it lightly with vegetable oil.  Then ladle the potato cake batter onto the hot griddle.   You can make them as large or small as you like.


Cook for a couple of minutes until the underside begins to brown.  Then, flip them over.


When they are cooked all the way through (you can kind of tell by looking at the sides), then put them on a plate or platter and serve.