Thursday, June 29, 2017

Sand Plums

In 2011, we purchased some trees and shrubs that would help provide food and shelter for deer, birds and other wildlife.  We purchased these from the Oklahoma Department of Agriculture - Forest Services Division.   Here's a link to their 2016-2017 packages, along with an order form.


Included in one of our orders were sand plum bushes, also called Chickasaw Plums.  These are very hardy shrubs. They are drought resistant and flourish in sandy soil or heavy clay.  When we planted them, they were just bare-rooted seedlings about a foot tall.  A year later they had grown into small shrubs.


Here are those same shrubs today.  They have created a couple of small thickets.


We have to mow around the them because they send up shoots from the roots and would take up more and more space if left unchecked.

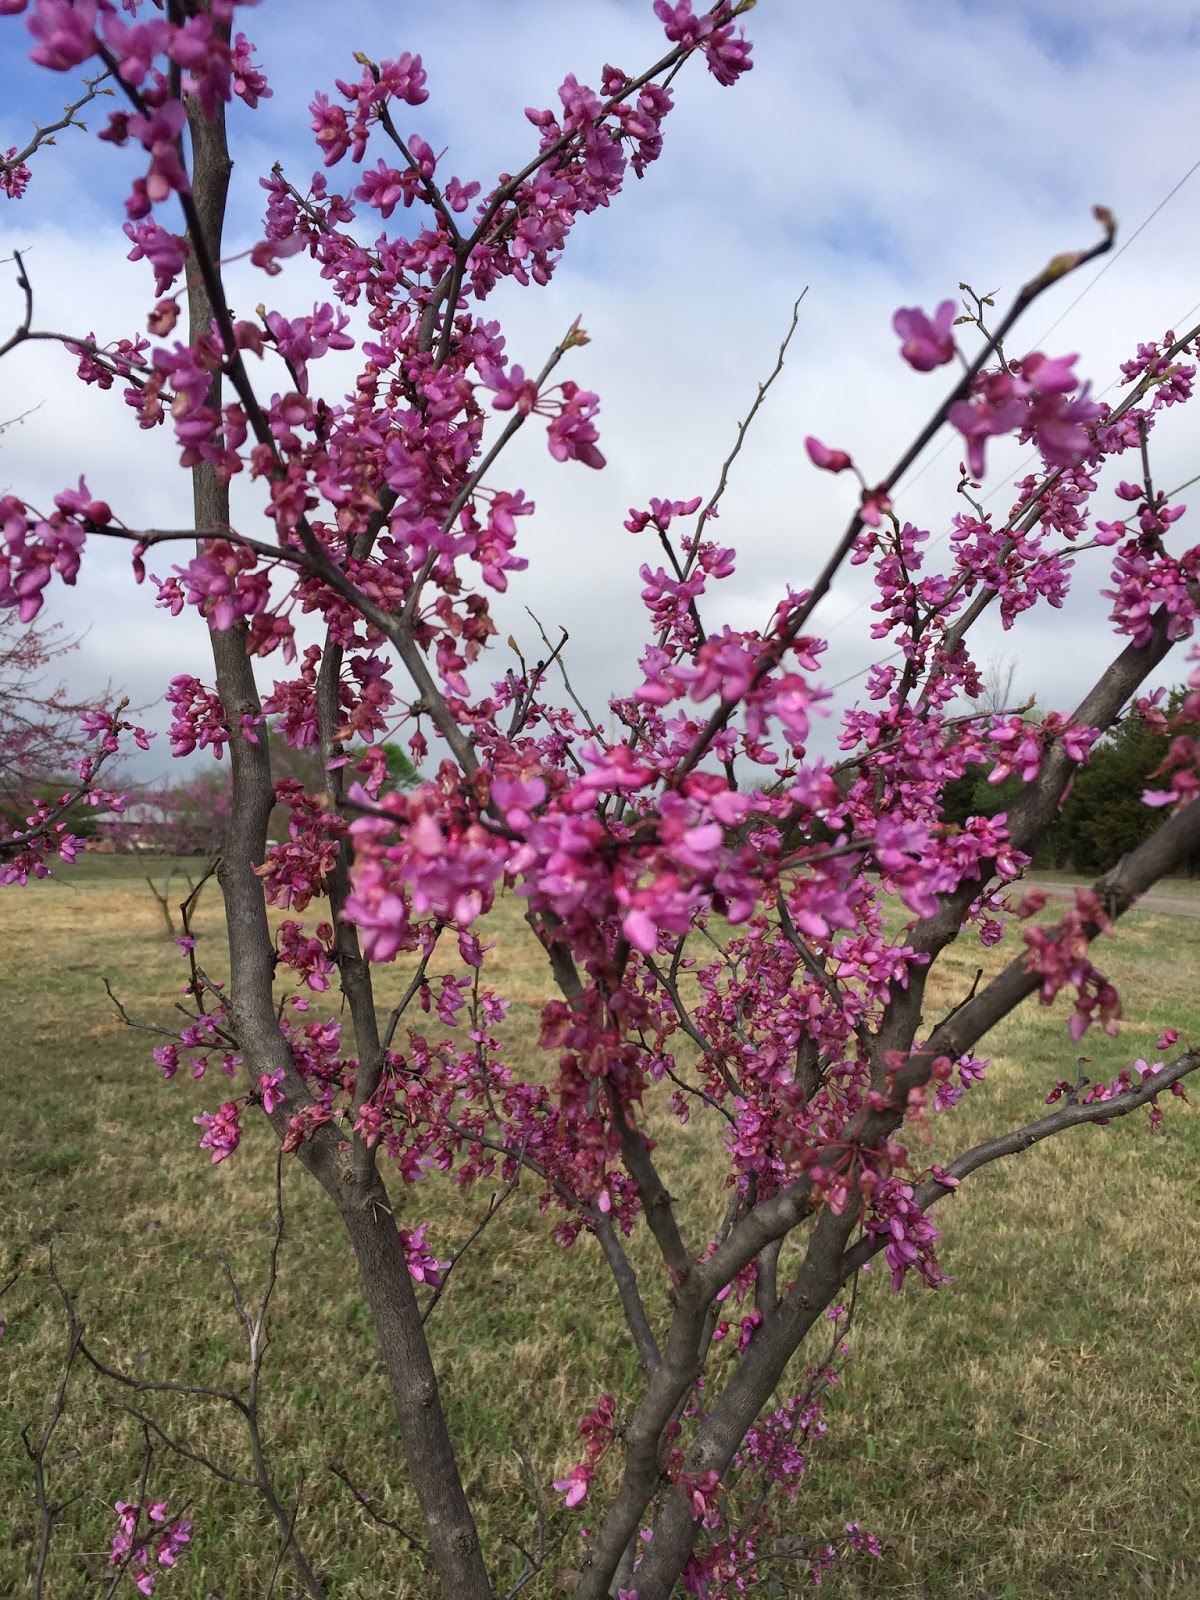
The bushes have pretty white flowers in the spring.  


Even with the late frosts this spring, they still produced a bumper crop of juicy sand plums.


Sand plums do not have a lot of "meat" to them.  In fact, they are small and have a seed inside that takes up half of the fruit.  Even so, they make the most awesome jelly and are well worth growing.  You can see how small they are in this picture.


To make jelly, you have to cook them to extract the juice.  But, first they have to be washed and sorted.  Many of them will have black spots, like this.


There are insects that will bite or sting them causing these black spots.  However, if you cut the plum open, you'll see that it is just fine inside.  In this picture you can see the seed.


There are some plums that you will want to discard, those where the skin is split or have holes that are oozing juice, like these.


This week I picked a batch of plums.  The bushes are not as harmless as they look.  They do not have thorns, but they do have short, pointed twigs that will poke you and can draw blood!  So, it is wise to wear long sleeves when picking the plums.


This is my harvest.


Notice many of them are green or only partially ripe.  This is not a problem, however, because they will ripen quickly if left out on the kitchen counter for a day.  

There are many recipes online for making jelly, but I followed the recipe for plums that was in the Sure-Jell box.  And, here is my finished product.


I only used half the juice that I extracted from the plums.  It is summer and I hate to heat up the kitchen and overwork the A/C.  So, I froze the rest of the juice and will make jelly this winter when it's cold outside.

Sunday, June 25, 2017

Grow Your Own Sweet Potato Slips

We always like to grow a few sweet potatoes.  They are so nutritious and good for you. They contain more fiber, as well as vitamins A, C and B6, than normal potatoes.  You may be tempted to think that sweet potatoes and potatoes are the same vegetable, just different in color.  However, they are in different plant families and are not related.  Sweet potatoes are in the morning glory family.  Potatoes are in the nightshade family, which also contains tomatoes and eggplants.

Sweet potatoes are grown from "slips" which are sprouts that grow from mature sweet potatoes.  In past years, we have bought slips, but this past spring we just didn't get around to it.  So, I was resigned to just buying sweet potatoes in the grocery store this year.  However, last month I noticed our last sweet potato from last year's harvest had a few small slips beginning to grow.  So, I set it in a cup of water and waited for them to get larger.


When they were 6 to 10 inches tall, I took it out of the cup and it had this many roots growing.


I broke the slips off and broke these into two or three separate plants.


 We planted some of them in our hoophouse. 


We roll the sides up on the hoophouse during the summer, but it still gets very hot in there.  However, sweet potatoes love hot weather and seem to thrive.  Another benefit of growing them in the hoophouse is they are safe from deer.  The deer will not go in there to get to them, even though sweet potato vines are one of their favorite foods.

I planted the rest of the slips in 3 of my cattle tubs.  


Maybe I'll harvest another 6 pounder this fall, like I did last year!


Monday, May 29, 2017

Cattle Tub Garden Update

It's been a while since I posted an update on my cattle tub garden.  I wrote about it last year in the following post.


I had a good deal of success with the things I grew in the cattle tubs, particularly the sweet potatoes.  One of them weighed 6 pounds!  


So, this year I obtained a few more tubs and we expanded it into another corner of the back yard.  I am trying carrots in some of them.


The strawberries I planted last year did well this spring.


I grew some bok choi in tub, but I think the black tubs collected too much heat and caused it to bolt early.  I believe cool season crops will work better in the tubs during the fall and winter.  Live and learn.


I am trying Swiss Chard, as well.  It is doing okay, but is not thriving.  It may be another one of those plants, like bok choi, that will need cooler weather to do well.


The tomatoes I planted are doing great.


I'm trying a couple of herb plants to see how they grow in the tubs.  Here you see sage and rosemary.


I have a few peppers planted.  This year I'm trying a new variety called Shishito.  They are medium hot peppers that are excellent simply stir fried in olive oil with salt and pepper and served as a side dish.  One of our farmers' market customers told us about these last summer.  He had eaten them in Santa Fe and asked if we could grow some this year.  So, here you go, sir! 


These pictures were all taken a couple of weeks ago.  Since then, the weather has warmed considerably and all the plants shown here are even bigger, especially the tomatoes.  

This idea of growing in cattle tubs has made life much easier for me.  Very little weeding to do and watering takes just a few minutes using a hose-end spray nozzle.  This spring I added a bucket of compost to each tub and worked it into the soil to add nutrients.  

Next year, I will probably need to rework the strawberry tubs because strawberry plants send out runners and make new plants.  Thus, the tubs will become crowded and I'll need to dig out the old plants to give the new ones room to grow. So, this is an ongoing experiment to see kind of plants do well at what time of year and how best to manage perennial plants, such as strawberries.  I will post updates periodically to keep you updated.


Monday, May 15, 2017

Seed Germination Test

Earlier this spring I went through a bunch of our old seed.  Even though we store our seed in the refrigerator, many types of seed will not germinate after several years.  Rather than waste a lot of time and energy planting something that would not come up, I did a germination test.  

A seed germination test is easy, only takes three to four days and might save you some time and garden space.  So, here's how to do it.

First wet a paper towel and fold it in half.  Then, lay 10 seed on it.


Beginning at one end, carefully roll the towel up.  If you germinate more than one type of seed at a time, be sure to label them.  I just used some plant ID stakes I had available.


You will have a roll, like this.


In this test, I was germinating a type of gourd that is edible when it is young, commonly referred to as "climbing okra", Blue Bonnet seeds, and Hyacinth Beans that are grown more for the flowers they produce than for their beans.

Place the seed rolls in a plastic bag.  Leave it on your kitchen counter for 3 to 4 days. 


After a few days, unroll them and see if any of the seeds are starting to sprout.  If not, then roll up for another day or two.  If after a week, there is no sign of life, then you can assume that the seeds are "dead" and discard them.

When I opened the climbing okra roll, this is what I found.


As you can see, seven of the seeds have small sprouts beginning to form.  Therefore, I could assume that for every 10 seed I planted, 7 of them would produce plants.  Hence, this batch of seeds has a 70% germination rate.

Rather than waste the sprouted seed, I went ahead and planted them.  Because they were already germinating when planted, they came up quickly.  I only had room for a few of these plants, so 7 was plenty.  But, if I were going to plant a whole row of them, then I would have known to plant 30% more seed in order to get the desired number of plants.

So, before you throw out old seed, take a few days to do a germination test.  You might be surprised at the results.

Friday, April 21, 2017

Repotting Aloe

A few weeks ago, I wrote about the aloe vera farm we visited on our trip to south Texas:  
Aloe Vera Farm Tour.  I came back from that trip and decided it was time to attack one of my pots of aloe that was terribly overgrown.  It needed repotting badly.


First, I dumped it out of the pot.


It looked pretty grim after I finished tearing the root ball apart and separating all the baby aloe plants.


There were eight little plants of various sizes.


I potted them up in small plastic pots.  


It will take a few weeks for them to get rooted in their new homes. 


As for the old mother plant, I may try planting it outside, like the ones at the aloe farm we visited.  Maybe it will even bloom, like the ones at the aloe farm.  It should be fine until this fall, then it will have to be dug up and brought in for the winter and the circle of life will start all over.  

Sunday, April 9, 2017

Spring Walk on the Homestead

Spring is here.  The birds are singing and plants are growing.  Every morning the dog and I go on a walk after breakfast.  This started last fall when the dog had a ruptured disk in her back and had to have surgery.  This happened once about 5 years ago.  I even wrote a blog about it,  Sally's Back Surgery.  This time, however, she was 5 years older and the recovery took much longer.  After her surgery, she had to stay in her crate for several weeks,except for leashed walks with the aid of a sling for her back end that helped support her legs.  Thus, began this routine of the "morning walk".  

After a few weeks, we were able to eliminate the sling and the leash, but by then we had both gotten in the habit of walking every morning.  Sally enjoys it and so do I.  We both look forward to it.  Granted some of the cold, windy mornings during the winter, we did not stay out long, but the fresh air was invigorating!  Ha!

But, I digress.  I felt like I had to give you some background for this article.  So, there it is.  The main thing I want to do is to share some pictures of what we recently encountered on one of these morning walks.  So, here goes.

Sally leads the way and off we go.


The cat usually tags along.


Sometimes they find some interesting smell they have to investigate.


The strawberries are blooming.


The elderberry bushes we set out last year are growing and doing fantastic.


The redbud trees are blooming.


As are the lilac bushes.


The chickens were happy with some spinach leaves I pulled out of the hoophouse for them.  They are spoiled chickens!


The horseradish is coming out of hibernation.


The garlic we planted last fall is looking good.  We have 10 different varieties this year.


This field is freshly tilled and ready to plant.


It is an exciting time of the year.  The garden is a blank slate for us to "write" on.  Life is good!


Monday, March 27, 2017

Olive Farm Tour

My last blog entry was about our Aloe Vera Farm tour in south Texas. We took a few days off earlier in the month to take a short vacation.  And, as is the case with many of our travels, we end up going to places related to gardening and farming.  On the way back north from south Texas, we spent a few days in the Hill Country and stumbled across an olive farm.


A few months ago we watched a 60 Minutes show titled Agromafia.  It reported on how the Italian mafia has infiltrated the Italian food industry and reaps huge profits by making and exporting "fake" olive oil to other countries.  They take a tasteless, odorless oil, such as sunflower oil, add a few drops of chlorophyll to give it a greenish color and sell it as extra virgin olive oil.  It is estimated that 75-80% of the extra virgin olive oil imported and sold in the US as is fake or does not meet the legal standard for extra virgin.  To learn more about it, check out the link above to the 60 Minutes show.  It is very interesting and, for me, quite disturbing.

After watching that show, I refused to buy imported olive oil and started buying olive oil made in the United States.  It is easy to find olive oil from California in the supermarket.  So, when we came across this Texas olive farm, I had to stop.

The farm is near Dripping Springs, TX.  They had a nice store and small restaurant.


They produce three kinds of olive oil and have won several prestigious awards.


There were a couple of tasting stations in the store and we enjoyed tasting the olive oils. 


In addition to these plain olive oils, they have several varieties of infused oils they produce.


After browsing through the store, we took one of the tours they offer.  We got to see some of the olive trees.


They occasionally have hard freezes in this part of Texas.  When that happens, most of the trees will freeze back to the ground.  They normally resprout from the base of the trunk and grow back, but the trees don't produce olives in these years.  So, this company has a farm farther south in Texas where they have more olive trees.  


The last half of the tour was of their production facility.  


The tour guide explained what each piece of equipment did and showed us a picture of what the olive oil looks like right after it is extracted.  After this it goes through several processes during which large particles and debris settle out and it is filtered several times.


This machines puts labels on bottles.


And this one, fills bottles.  These are some balsamic vinegars they also produce.


We bought a bottle of their extra virgin olive oil while we were there and I plan to order more of their products in the future.  They have a great website where you can view their products and order online.